It is indeed possible to get Total Victory, Victory/Decisive Blow, and Total Loyalty in the same playthrough as Elya with 7 Strength. I believe 7 Strength is the maximum value she can have in this game.
For she is our queen, and long may she reign.
Final run screenshots:
I did this run as a Tactics Marshal, for both personal reasons (this is my primary Marshal Anna, who now has Intimidation 1 down from 2 [it fit my mental image of her better] and a mare named Roach) as well as game mechanics reasons. I’m not sure if Weapons/Leadership Marshals can use this strategy; while the Archer Trap is available to all Marshals, Tactics Marshals are better at disease management and dealing with Rade’s assault on the walls. I also took zero Envy options, both for personal reasons (Anna has never had Envy above 0, and ends the game at -3 Envy) and playthrough reasons (we are going to get Ending 2, and I don’t think that there’s an Envy choice that will bring her to Strength 8).
First, I warned the nobles at the ball about Sobik’s death. Next, I told Elya to be strong in front of others and be weak to herself (you can say you’ll help her become strong if you want strong cold Elly, but I prefer strong warm Elly).
During Belos’s Sally, I attacked the flanking archers, and fell back after dealing with them. I then told Elya to cherish the living while they still lived (you can tell her that they messed up and paid for it if you wish). After that, I used my tactical skills to turn the tables on the rebels attempting to scale the walls.
After the army hits the road, I told Elya to keep moving forward, and to acknowledge the dead without being consumed by grief (you can stoke her desire for vengeance but warn her not to let it consume her if you wish). Then use your disease management tactics to even the load of consumption on your army, then train the retinue in regimentation (the Cohesion boosts and independence of the army are necessary, meeting Sokol is awesome, and the cadence is cool). When Elya is upset by the news of plague and consumption spreading, give her a woman-up speech (first option. While the fourth option also gives her 1 strength, it is an Envy option and thus grayed out on my playthroughs). When Milon and Lada want to retrieve the lost patrol, refuse their request. When announcing ourselves at Castle Salutis, let Elya announce our presence. During the Ciril recruitment negotiation, let Elya take the lead the entire time—don’t even tell her what angle to push Ciril on. While you will have only 9 points of recruitment instead of 10 or 11, it won’t matter. Recruit 3.5 units of archers (7 points) and 1 unit of light cavalry (2 points). If you’ve been following the guide, Elya should have 6 strength.
At the Atiming, counter-charge Nado’s troops and let Velinor take the shot. Next, set up defenses, choose the Archer Trap strategy, mix the retinue in with the levies, and keep all cavalry in reserve (this one is especially important. Don’t even think about disrupting Nado’s plans this playthrough. You’ll see why soon).
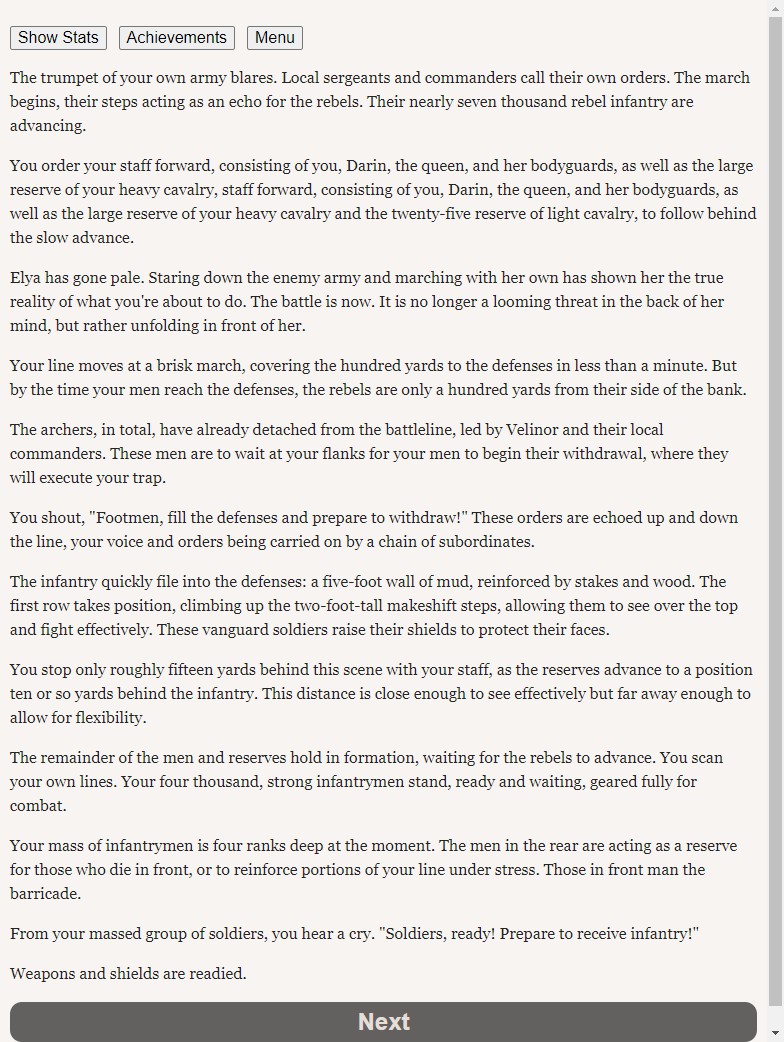
Regimentation will help your troops build the defense well without your supervision. When the inspection goes to hell, I save Dismas. However you may want to be pragmatic (call a retreat) or save Lada (and educate her on the reality of war. I’m not sure if you need to focus on her for the cheevo since I don’t have it). Afterwards, decide to shoot back at Nado’s archers, and have Elya give the command. While this doesn’t give her a Strength boost when she has Strength 6 (it only gives Strength if she has it less than 4), it’s good flavor. Attack the rebel foragers (while I spared the last surviving rebel, you can let him die or kill him yourself). When the battle begins, order your tactical withdrawal first, then go to personally fight alongside your infantry. When the rebel cavalry attempt to flank, Regimentation allows your troops to counterattack and not be wiped out. Don’t worry about Elya! She will (physically) be okay and will become the Warrior Queen in this battle.
Spring your trap, and let the archers do what they do best. When the rebels are completely routed thanks to your 1000+ archers, set your entire rested reserve cavalry to running them down. You should have 4800 rebel casualties by the end.
Deal with Vedran in Chapter 6 as you wish. Anna went down swinging here—while she was captured in the end, the traitors didn’t celebrate at all. I also had 4 Vedran Respect coming into Chapter 6 (Anna punched him in Chapter 3) and thought the post-capture conversation was great for the story. Get rescued (I low-key wish Elya at Strength 5+ was more proactive in her and Darin’s rescue, or at least during their captivity, as a reflection of how she’s grown into a competent queen rather than a delicate princess, but that’s just me. It’s just one more flavor text variation), then get dressed in borrowed clothes and begin the march to Krorid. By now, Elya should have 7 Strength, and the Marshal should have -3 Envy.
Choose to take the short route to Krorid. When you get to Krorid, either tell Moren it was too much of a stir outside, or answer him with Kroridian slang. Then admit bluntly that you wish he was Tomos. At the forge, Anna picked plate (unsure if armor matters) and a poleaxe (both for my own personal polearm appreciation, and because it’s going to be very useful in Chapter 8), but if you like other weapons and armor pick those. Train the retinue in Regimentation II (it makes Chapter 9 so so so much easier). Recruit 3 units of Veterans (get the gang back together!), and 1 unit of Rangers. Your army size should be 6800 by the end of recruitment.
In Chapter 8, lead your men down the hill and seize the siege weapons. This is especially important since we plan to fight the big open battle. When Vuk appears, fight him and win (as Anna is an average height woman, I duck his initial strike, then tackle him and smash his helmet in with the hammer of my poleaxe).
Chapter 9 is the big battle! Evenly distribute your retinue throughout your line, to increase cohesion. Then put your rangers with your archers (there are a lot fewer of them left after seizing the siege weapons, so this is the best way to preserve them). Avenge Belos’s Sally with your archers, then set your archers to firing on the attacking cavalry, and then use the archers as much as possible, in general. After that phase of the battle, your cohesion should be 96 while the rebels remain at 95. In the next phase of battle, put the archers/rangers to work obliterating Rade’s archers (and scaring the Butcher), then set your cavalry to attacking the attempted flanking cavalry. At the end of this phase of battle, your Cohesion should be above 90, theirs should be 85. In the next phase of the battle, set the archers to firing on attacking enemy cavalry (ignore the infantry for now), and then move your retinue around to compensate for your reduced numbers. At the end of this phase, your cohesion should be 91, and the rebels’ should be 79. The veterans are really helpful, as is the regimentation!
Now it’s time for the Marshal’s big moment. Choose to join the infantry (I do this both because Anna wields a poleaxe, which is more suited for infantry combat, and because I wish to spare Roach) or the cavalry (do this if you want to perform the Marshal’s Sally). Use your tactical knowledge to exploit the weakness of the rebel line, and watch the rebel army crumble. Then, give the command to deal a decisive blow–to spare more of your boys later.
After this, it’s up to you how you want to deal with Vedran (Anna spares him by knocking him unconscious when he attempts suicide-by-Marshal), the Archbishop (Anna either threatens or shames him [I don’t know which one I like more/fits Anna more], but I wish Elya at Strength 5+ handled him entirely by herself, after the Marshal’s initial barb, rather than the Marshal shaming or threatening him. Her speech to him even before the Marshal threatens or shames him is savage and masterful from both Warm and Cold Elly–I wish that there was more of that), the prospect of rehonoring (Anna wishes Elya to pursue it and says so when her sister offers to do so, but I’ll carry at least one playthrough forward in which she refuses the offer) and Mira (Anna tells her that she’s done dealing with Mira’s bullshit, because she’s just a bitter drunk old woman who will never see [Anna] as anything other than a bastard). Choose who you want to be the guards at the coronation (Anna chooses the Kroridian veterans, although I wonder if dishonored men would also be a good choice), dress up to the nines or not (Anna likes dresses, especially wearing them on her own terms, so she dresses up), and help escort Elya to her coronation. She will give one hell of a speech to the assembled vassals (four of them will pledge fealty: one whose village was razed by the rebels instead of the loyalists, the two who(se families) were spared because of the Marshal’s warning in Chapter 1 [note that these two pledge to the Marshal specifically], and one who heard of the victory in the final battle and is impressed), and almost all of them will follow her into the cathedral.
Elya is now the Queen of Kanton, and holds the power of God and Crown (and Total Loyalty). The Marshal has earned Ending 2. I wonder what the future will bring in I, the Unbroken One.
This cracked me up. However I don’t think Elya or Anna would see it that way, lol.
Due to Anna’s looks (pale skin, black hair, gray eyes), Elya actually looks like Elsa (although it’s not enough for me to make Anna a redhead. I like black hair + gray eyes). Although Elya’s the one who’s more like Anna and Anna is the one who’s more like (beginning of Frozen 1) Elsa. And now I’m imagining the Marshal (any Marshal) singing “Let it Go”…